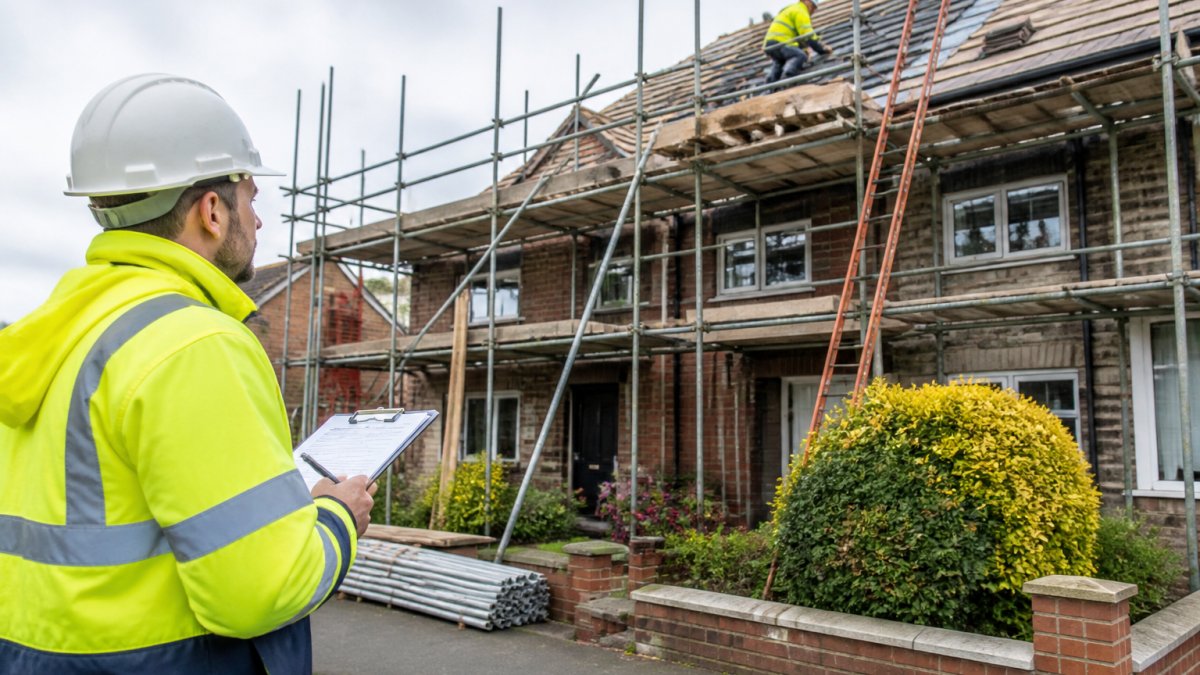
 how-to
7 Scaffolding Safety Checks for Home Extensions
Last Updated: October 24, 2026
Quick Summary
Scaffolding safety on a home extension means inspecting the scaffold before first use, at least every seven days while it stays up, and after any event that could affect stability, such as bad weather or alteration. A competent person carries out these inspections and records the findings, while you check the basics from the ground and report anything that looks wrong.
- You appoint a competent contractor and give them site information, but you never inspect or sign off the scaffold yourself.
- Never climb the scaffold to inspect it; check from the ground with binoculars if you need a closer look at upper lifts.
- Book a re-check after high winds, heavy rain, any impact, or visible leaning and loose fittings.
- Keep loads within the stated capacity and never stack materials against the guardrails.
- If a check fails, stop work, tell the contractor in writing and keep everyone off until it is signed back into service.
Table of Contents
- Who Is Responsible for Scaffolding Safety on a Home Extension
- The Scaffold Inspection Checklist for Home Extensions
- How Often Should Scaffolding Be Inspected
- Scaffold Inspection After Bad Weather
- Ground Conditions, Stability and Edge Protection: What to Look For
- What to Do If a Check Fails or the Scaffold Looks Unsafe
- Scaffolding Hire Duration for Renovations and Keeping Inspections Valid
- Book Your Scaffolding Safety Checks Before Work Starts
- Frequently Asked Questions
Who Is Responsible for Scaffolding Safety on a Home Extension
Scaffolding safety on a home extension is a shared duty, and as the domestic client under UK health and safety law, you carry more of it than most homeowners realise.
You appoint a competent contractor and give them the site information they need. You needn't inspect the scaffold yourself, but you cannot ignore it.
This guide covers what to look at, what to leave to a competent person, and what to do when something looks wrong.
Your Duties as the Domestic Client
Your main duty is to choose a competent contractor and let them do their job:
- Confirm the contractor has the skills and experience for domestic work
- Ask for their risk assessment and method statement before work starts
- Check they hold valid public liability insurance
You needn't design or sign off the scaffold, but if you spot something clearly wrong, report it to the contractor and keep the area clear until it is fixed.
What the Scaffolding Contractor Must Provide
The contractor must plan the work, assess the risks, and make sure the scaffold is stable and safe to use. In practice, that means:
- A design that suits the job, including load capacity
- Erecting the scaffold on firm, level ground
- Fitting guardrails, toe boards and safe access
Before you trust any safety assurance, it helps to know how to verify scaffolder insurance coverage with a simple checklist. A legitimate contractor will never dodge that request.
The Scaffold Inspection Checklist for Home Extensions
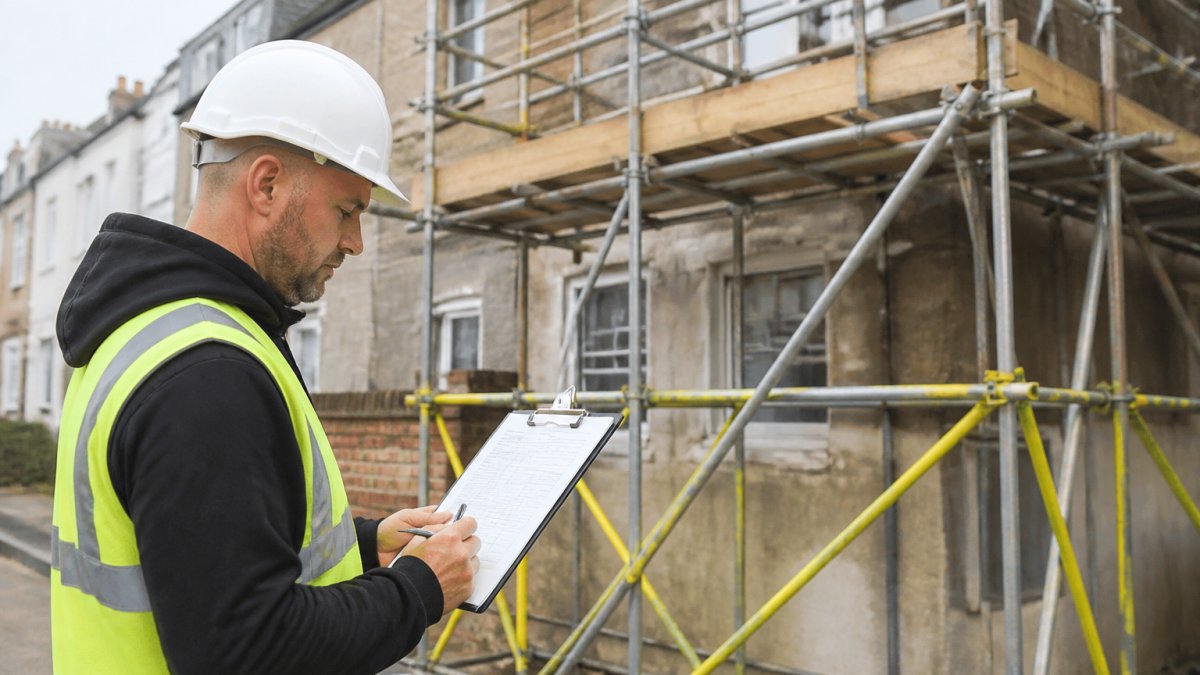
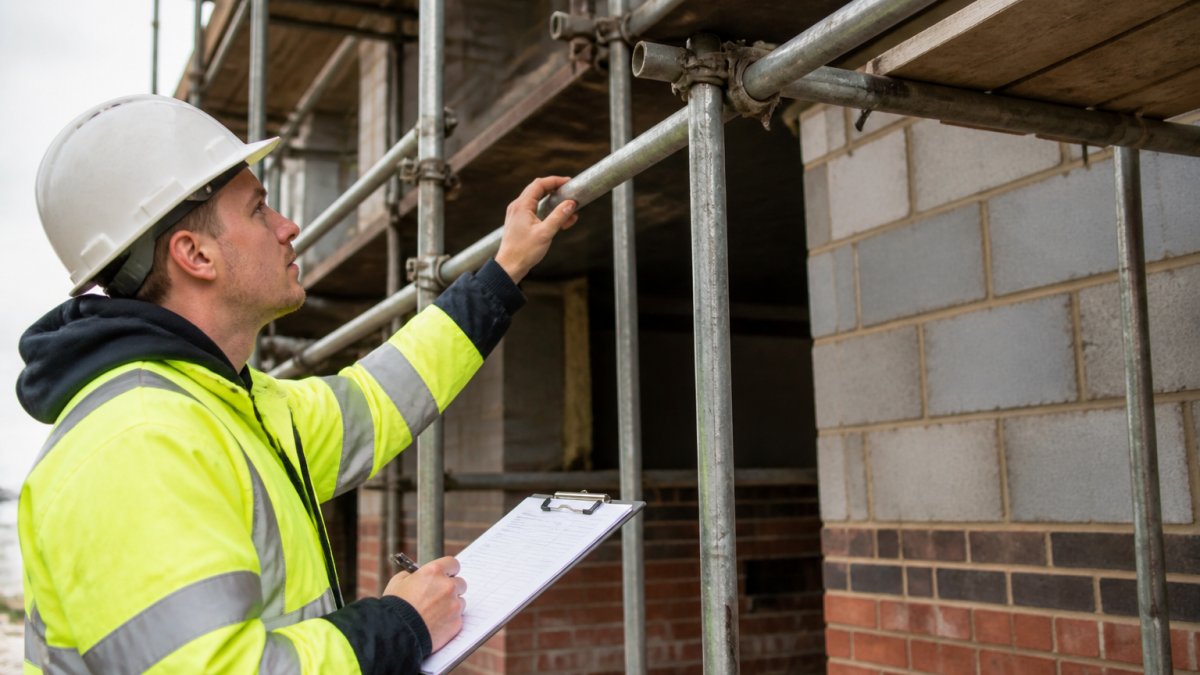
A scaffold inspection checklist for home extensions lists what to look at, in what order, so nothing gets missed.
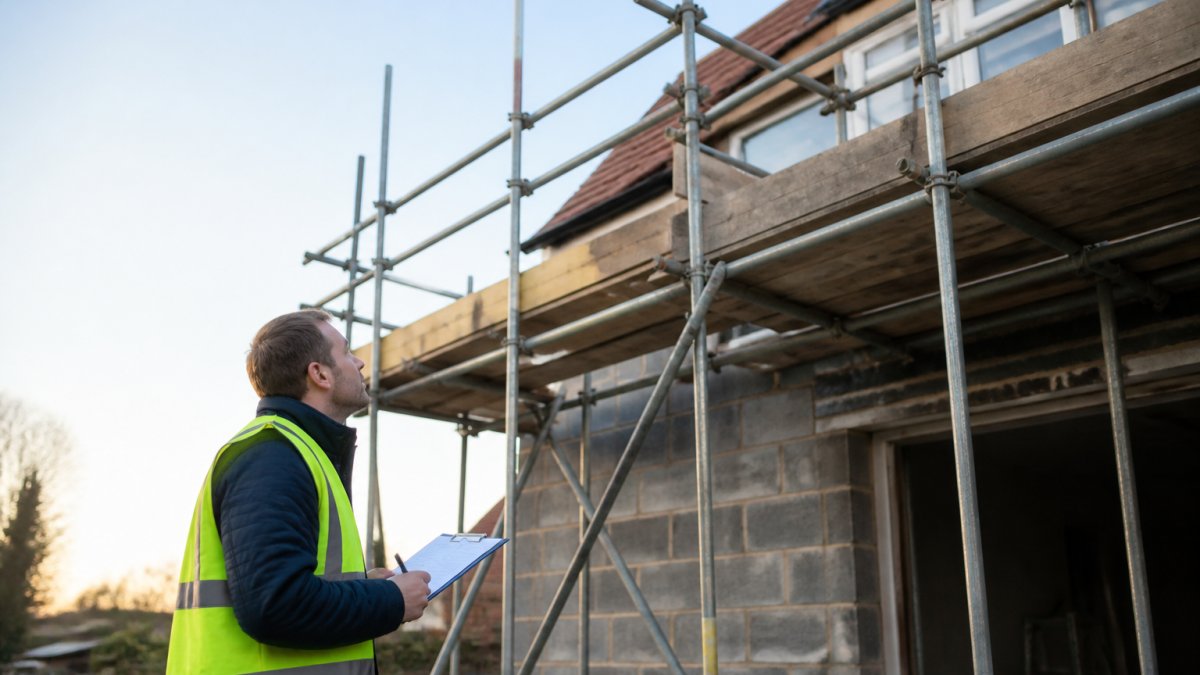
The Ten-Point Walk-Through
Work from the ground up, asking not just "is it there?" but "is it still doing its job?"
- Ground and base plates: firm, level ground with no sinking, no gaps under base plates and no standing water. On a home extension, watch for soft patches where a lawn has been dug over, or where a drain cover sits under a standard.
- Adjustable jacks: sitting flat, not over-extended, no bending. A jack wound out near its limit is a sign the ground beneath is not level.
- Standards and ledgers: uprights straight, horizontal tubes level and secure. Look along the face of the scaffold, a visible bow means something has moved.
- Bracing and ties: diagonal braces in place, and the scaffold tied back to the building at the specified points. Ties are what stop the scaffold pulling away from the house in wind.
- Guardrails: top rail and mid rail fitted on every open edge, including the ends. On an extension, the open end facing the garden is the one most often left short.
- Toe boards: in place along working platforms to stop tools and materials falling onto paths, patios or people below.
- Working platform: fully boarded, no gaps, no split boards, and boards secured against movement.
- Safe access: a proper ladder or stair tower, secured and reaching the platform, with a gate or barrier at the top where a ladder is used.
- Scaffold tag or record: the current inspection record visible and up to date, showing the date, the findings and who signed it off.
- Household hazards: no children's toys, bins, garden furniture or pet runs near the base, and the area beneath the scaffold kept clear of residents and visitors.
What You Can Check Yourself and What Needs a Competent Person
You can check the basics yourself: leaning uprights, missing guardrails, loose boards, a base plate in a puddle, a tie pulled away from the wall.
What you cannot do is sign the scaffold off. That needs a competent person with the training, knowledge and experience to spot defects and decide if a scaffold is safe.
So the split is clear. You report what looks wrong. They judge whether it is safe.
Home-Extension Hazards the Generic Checklists Skip
Most scaffold checklists are written for new-build sites. A home extension adds hazards that are easy to overlook:
- Access to windows and doors: make sure the scaffold does not block a fire escape route or trap residents inside. Agree with the contractor which doors and windows stay usable.
- Children and pets: a domestic scaffold is a climbing frame to a child. Keep the base fenced or boarded off, and brief anyone in the household on the exclusion zone.
- Public paths and neighbours: if the scaffold overhangs a path or shared access, check that the contractor has allowed for a covered walkway or diversion and that falling-object protection is in place.
How Often Should Scaffolding Be Inspected
Scaffolding should be inspected before first use, at least every seven days while it stays up, and after any event that could affect its stability, the core rule under the Work at Height Regulations. A competent person carries out the inspection and records the result.
Before First Use, After Alteration and the Seven-Day Rule
Three triggers matter most:
- Before first use: no one should work on the scaffold until it has been checked and handed over
- After alteration: any change to the structure, such as adding a lift or removing a tie, needs a fresh check
- Every seven days: the seven-day inspection keeps the record current while the scaffold stays up
The Health and Safety Executive guidance on scaffold inspection sets out these intervals. Ask your contractor for the inspection record. It should show dates, findings and who signed it off.
Three inspection triggers keep a domestic scaffold legally in service.
| Trigger | When it applies | Note |
|---|---|---|
| Before first use | No work until checked and handed over | Handover check required |
| After alteration | Any change, such as adding a lift or removing a tie | Fresh check needed |
| Every seven days | While the scaffold stays up | Keeps the record current |
| After bad weather or impact | Winds, storms, heavy rain, vehicle or branch impact | Re-check before work restarts |
Scaffold Inspection After Bad Weather
Scaffold inspection after bad weather is not optional. High winds, heavy rain and storms can loosen ties, shift base plates and damage boards. A scaffold that was safe last week may not be safe today.
Practical Triggers for Booking a Re-Check
Book a re-check if any of these happen:
- Winds strong enough to move garden furniture or bins
- A storm warning or gusts that rattle the scaffold
- Heavy, sustained rain that softens the ground
The Met Office guidance on weather warnings is a useful trigger point. If a warning covers your area, ask for a check before work restarts.
Ground Conditions, Stability and Edge Protection: What to Look For
Ground conditions decide whether a scaffold stays up. On a home extension the ground is rarely a clean building site, it may be a lawn, gravel drive, patio or side return with a drain beneath, and each behaves differently under load. Soft earth or uneven paving often necessitates secondary access solutions, which makes understanding the stability requirements for modern extension ladders essential for safe site navigation.
Why Ground Conditions Matter More Than They Look
A scaffold's weight, plus materials stacked on it, is carried through the standards into base plates and then into the ground. Base plates spread that load over a small area; adjustable jacks level the frame where the ground falls away. If the ground yields, the base plate sinks, the jack extends and the structure leans, and leaning scaffolds fail suddenly, not gradually.
On a domestic site, the common weak points are:
- Made ground and backfilled trenches: ground that has been dug and refilled, for example where drains or services were laid, compacts unevenly and can settle under a standard.
- Drain covers and inspection chambers: a base plate sitting directly on a plastic cover is a point load on something not designed for it.
- Sloping gardens and side returns: a slope means jacks are wound out further on one side, reducing the margin for settlement.
What to Look For at the Base
Walk the base line and check each standard in turn:
- Base plates flat on the ground, not bridging a gap or perched on a stone
- No sinking, rutting or pooling around any base plate
- Adjustable jacks not wound out beyond their safe limit, and not bent
If you see a base plate that has sunk since the scaffold went up, treat it as a failed check and stop use until the contractor has inspected it.
Edge Protection and Safe Access
Guardrails and toe boards stop people and tools falling. On a home extension the open edges often face a garden or household path, so a dropped tool is a risk to residents and neighbours, not just a site hazard.
Safe access matters just as much. A wobbly ladder, missing platform board or unguarded ladder top is a fall waiting to happen.
Overloading and Material Storage
Watch out: overloading a platform with bricks, tiles or waste is one of the most common causes of scaffold failure. Keep loads within the stated capacity, distribute materials evenly and never stack against the guardrails, piling demolition waste on the platform is exactly the load the scaffold was not designed for.
When Ground Conditions Should Trigger a Re-Check
Book a re-check if any of these happen:
- Sustained heavy rain that softens the ground around the base
- A drain or service trench is opened near the scaffold
- Any base plate shows signs of sinking or the scaffold visibly leans
The Met Office guidance on weather warnings is a useful trigger point. If a warning covers your area, ask for a check before work restarts.
What to Do If a Check Fails or the Scaffold Looks Unsafe
If a check fails, stop work on the scaffold and keep everyone off it:
- Tell the contractor immediately, in writing if you can
- Keep the area clear and warn anyone on site
- Do not try to fix it yourself
- Wait for the competent person to inspect and record the corrective action
- Only allow work to restart once the scaffold has been signed back into service
A failed check is not a disaster. Ignoring one is.
Scaffolding Hire Duration for Renovations and Keeping Inspections Valid
Scaffolding hire duration for renovations depends on the job. A roof repair may need a few weeks. A full extension can run for months.
Watch out: hire periods and excess week charges can catch homeowners out if a project overruns. Understand scaffolding hire excess week charges before you sign, and see a comparable breakdown of scaffolding hire duration for roof repairs so you can plan realistically.
Our packages include ten weeks of hire as standard.
Book Your Scaffolding Safety Checks Before Work Starts
Safety checks work best planned in, not bolted on. Before you commit to any contractor, compare scaffolding quotes effectively so you know what safety cover is included. For the full picture, our guide to residential scaffolding for house extensions sets out what to expect from start to finish.
Frequently Asked Questions
Who is responsible for checking scaffolding at a home extension?
The scaffolding contractor that erects the structure holds the main duty to inspect it and record the results. As the domestic client, you still have a role: confirm a handover certificate exists before anyone works from the scaffold, keep the inspection record on site, and stop work if you see something wrong. If you hire a builder who subcontracted the scaffold, ask who is acting as the competent person for inspections and get that in writing.
How often should scaffolding be inspected on a domestic project?
A scaffold inspection should take place before first use, at intervals not exceeding seven days while it remains in use, and after any event that could affect its stability, such as high winds, impact from a vehicle or a change to the structure. The seven-day rule is a maximum, not a target. On a busy extension where materials are being moved daily, more frequent checks are sensible, and any alteration to the scaffold triggers a fresh inspection before work resumes.
What should a homeowner check before using scaffolding?
Look for a handover certificate and a current inspection record, confirm guardrails and toe boards are in place on every open edge, check the base plates sit on firm level ground, and make sure safe access is via a proper ladder or stair tower rather than climbing the frame. Note any missing ties, bent standards or loose boards and report them before stepping on. Anything structural, such as bracing or ties, needs a competent person to assess, not a homeowner.
What should you do if scaffolding looks unsafe?
Stop using it and keep others off, including children and pets if the scaffold borders a garden. Report the issue to the scaffolding contractor immediately, in writing where possible, and ask for a corrective inspection before anyone returns to the platform. If the contractor does not respond, or the defect is serious, contact the local authority health and safety team. Never attempt to fix bracing, ties or decking yourself, and do not let a builder talk you into working around a fault.
Getting scaffolding safety right on a home extension takes more than a quick glance at the frame. It takes a contractor who plans inspections, records them, and reacts fast when the weather turns. Ironclad Scaffolding builds that into every job, with written quotes within 24 hours, a 3D scaffold viewer so you can see the layout before it goes up, and highway licensing handled for you. Get started with Ironclad Scaffolding and put your extension on a safer footing.